In the first part of this article, we created and enabled Dynamic Access control, configured claim types and also configured resource property list. In this part, we will continue with the configuration of Central Access Rule and configure Central Access Policy. Once Central Access Policy is configured, we need to create a new group policy to publish Central Access Rule and configure the shared folder with the necessary classifications. And then, finally verify the effective permission on the shared folder to make sure that only the right people have access to the shared folders.
Central Access Rule: These rules are set of conditions involving the above defined claims which provide access or deny permissions.
- Connect to the Widows Server 2012 and connect to the Active Directory Administrative Center – > Dynamic Access Control
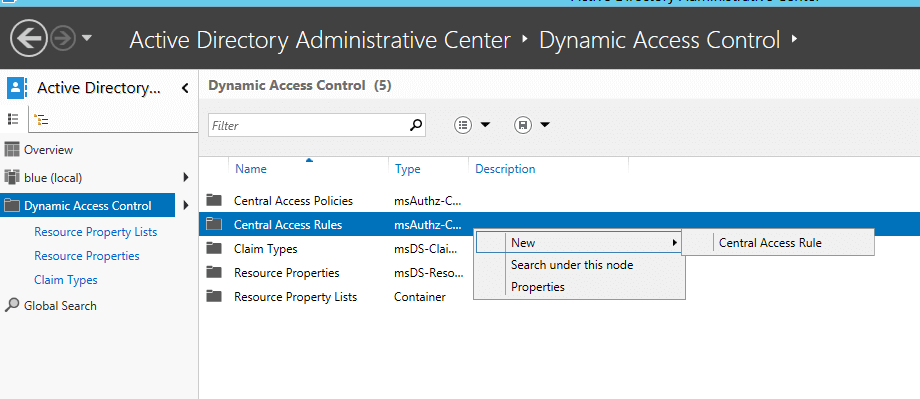
- Right click on “Central Access Rules” -> new -> Central Access rule
- Give the appropriate name on the “Create Access Rule” popup window -> Edit Target Resource -> Click on “Add condition”.
- Select Target resource -> edit and update the resource condition as defined below.
- Under Permissions in the Create Central Access Rule window, make sure that ‘Use following permissions as current permissions’ is checked and click ‘Edit’.
- At ‘Permission Entry for Permission’ window -> click on ‘Select a principal’ -> search for
‘Authenticated Users’ -> click ‘OK’. - At Basic permission, Select Modify permission and keep other preexisting default permission
- Click two times on ‘Add a condition’ and modify the condition as defined below.
- Click on ‘OK’ at Permission entry for permission, then click on ‘OK’ at Advanced security settings for permission and click ‘OK’ at Central Access Rule Window to create a new Central Access Rule


Central Access Policy: It can be one or more central access rules applied to provide the necessary permissions. We need to add central access rule, before it is distributed to the file server.
- Connect to Active Directory Administrative Center and select Dynamic Access control.
- Right-click on Center pane and select new-> Central Access policy.
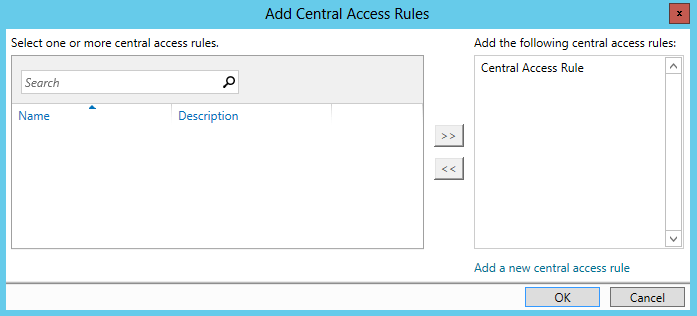
- Provide the appropriate name and click on the ‘Add’ button to add the Central Access Rule which was just created.
Configure group policy to publish Central Access Rule: Configure group policy to publish the Center Access rule to the file server.
- Connect to the Server Manager -> Start “Group policy management” console.
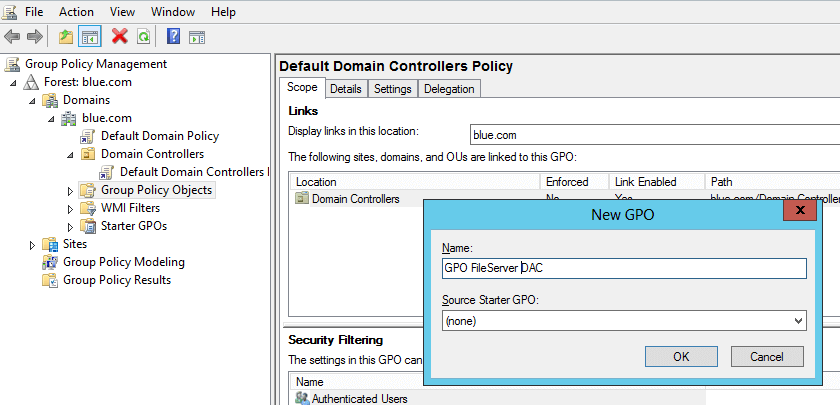
- Expand the domain and right-click on “group policy objects” -> click new -> provide the name “GPO FileServer DAC” and click OK.
- Edit the newly created GPO “GPO FileServer DAC”
- Expand Computer Configuration -> Policies ->Windows Settings -> Security Settings -> File System -> right-click on Central Access policy -> click on Manage Central Access policies to mage the same.
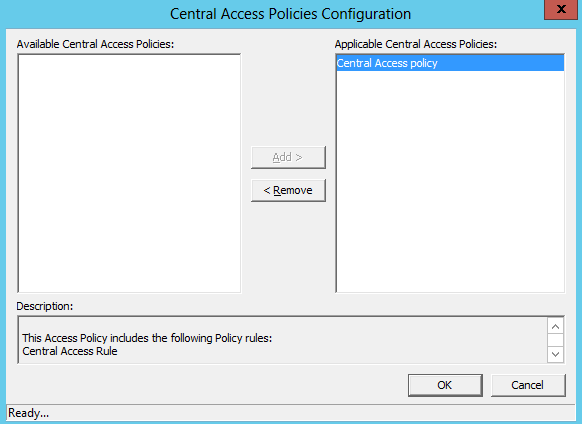
- Select the Central Access Policy from the list and click on the ‘Add’ button.
- Click ‘OK’ at Central Access Policy and Click on ‘OK’ at Group policy manager editor window
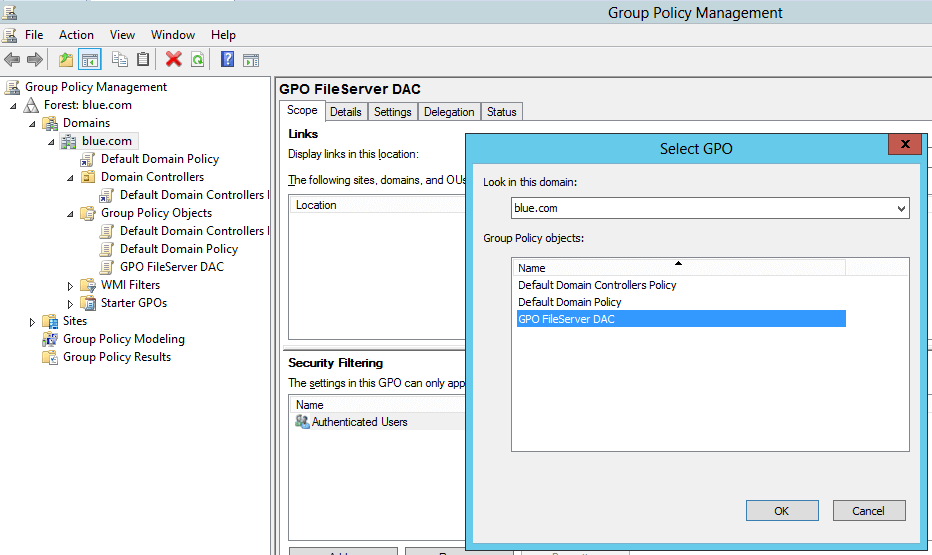
- Finally link the GPO to the domain. To do the same, right-click on the domain name ‘blue.com’ from the Group Policy Management console and select the newly created group policy object – “GPO Fileserver DAC”.
- Click on ‘OK’ to apply the GPO and close the Group policy management console.

So, we are almost done with the configuration of Dynamic Access Control and GPO configuration. Now we need to configure ‘shared folders’ on the file server. Please see below steps:
- Connect to the file server where File Server Resource Manager feature has been installed.
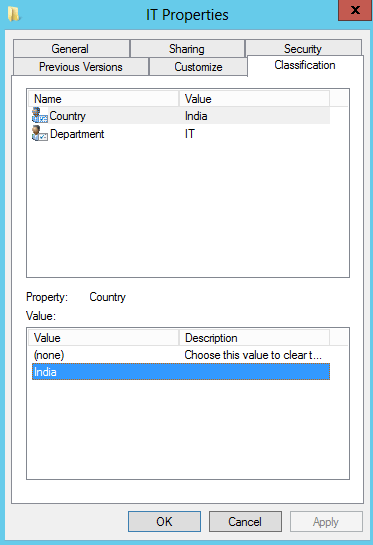
- Right-click on the shared folder -> select properties -> click on ‘Classification’ tab.
- Select ‘Country’ resource property in the top part of the window, and then select ‘India’ from the below.
- Similarly, do the same for department. Select ‘Department’ and select ‘IT’ from the below value.
- Select the ‘Security’ tab and click on ‘Advanced’ then select ‘Central policy’ tab.
- Click ‘Change’ and select ‘Central Access Policy’ which we created from the drop-down menu and then click on ‘OK’ to apply the same.

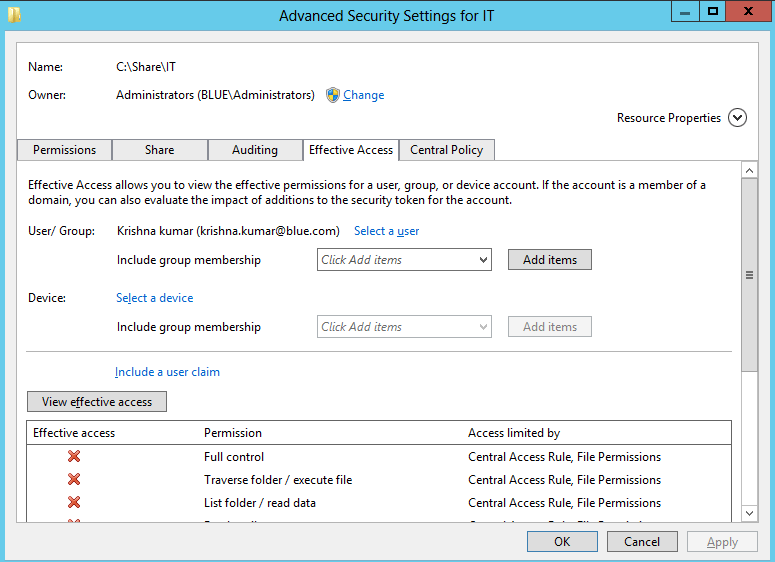
Effective Access: Effective Access helps determine on who is provided with access and who is denied permission at the shared folder. Access permission is provided only if the condition matches the user property with country as India and department as IT. If the condition is not met, then the access permission is not granted. Below are the steps to validate the same:
- Right-click on the shared folder and click on the ‘Security’ tab and click on ‘Advanced’
- Select “Effective Access” tab and click on ‘select a user’ and search the required users.
- Click on ‘View effective access’. If the user property matches the rule (Country = India and Department = IT), then it will display the list of permission provided to the user. Similarly, if the user property does not match the condition, then user access is denied. Below given snapshot is the example of denied access for the user Krishna kumar who does not meet the condition to access the shared folder.
With this, we are done with the configuration of Dynamic access control on the file server. Managing fileserver permission is very complex and securing some of the critical information is also challenging. It takes tons of administrative efforts when a new employee joins or his role changes within the organization to provide and remove necessary permissions on the file server. Dynamic access control simplifies the administration model and ascertains that the resource access is granted to the right person.
For auditing changes on windows file servers, you can use Lepide File Server Auditor software. This file server auditing tool keeps track of all changes made to files/folders, permissions, and shared resources on windows file servers.