The Lightweight Directory Access Protocol (LDAP) is an industry-standard application protocol used by Windows Server Active Directory (AD) to maintain directory services. Client devices and applications authenticate with AD using LDAP ‘bind’ operations. LDAP simple binds send user credentials over the network in cleartext. I.e. there is no encryption of the username and password. While AD supports simple binds, it is not a recommended approach.
Applications that use LDAP simple binds should be updated to use Simple Authentication and Security Layer (SASL) binds instead, which support sign and seal (verification/integrity and encryption). Applications that can’t be updated can use LDAP over TLS, sometimes referred to as LDAPS; but it is more complex to implement and maintain.
The good news is that by default, all currently supported versions of Windows negotiate signed LDAP connections by default. But nevertheless, Active Directory will accept LDAP simple binds unless LDAP signing is set to ‘required’. If LDAP is set to ‘required’ in a domain, LDAP simple binds will fail. So, if you want to be sure that LDAP simple binds are not used, you should configure AD to require LDAP signing. Like any security change, before enabling a domain to require LDAP signing, you should test thoroughly to make sure you don’t have any applications that rely on LDAP simple binds.
Require LDAP Signing in Active Directory
The easiest way to require LDAP signing in your Active Directory domain is to use Group Policy. The Domain controller: LDAP server signing requirements to Require signature setting can be found under Computer Configuration\Windows Settings\Security Settings\Local Policies\Security Options. There are three possible settings:
- None. Signing is not required to bind with the server. If the client computer requests data signing, the server supports it.
- Require signature. LDAP signing is required unless TLS/SSL is configured.
- Not defined. (default setting).
To set LDAP signing to required in your domain, you can change the setting in the Default Domain Policy or create and link a new Group Policy Object (GPO) with the required setting.
-
- Log in to a domain-joined PC with a domain user account that has permission to modify Group Policy.
- Type mmc.exe in the search box on the taskbar and press ENTER to open a management console.
- On the File menu, click Add/Remove Snap-in.
- In the Add or Remove Snap-ins box, click Group Policy Object Editor and click Add.
- In the new dialog box, click Browse and then select Default Domain Policy. If you have another GPO that you want to edit, select that instead.
- Click OK and the click Finish.
- Close the remaining open dialog boxes.
- In GPMC, expand the Default Domain Policy GPO and navigate to Computer Configuration\Windows Settings\Security Settings\Local Policies\Security Options.
- On the right side of GPMC, scroll to find Domain controller: LDAP server signing requirements. Double click it.
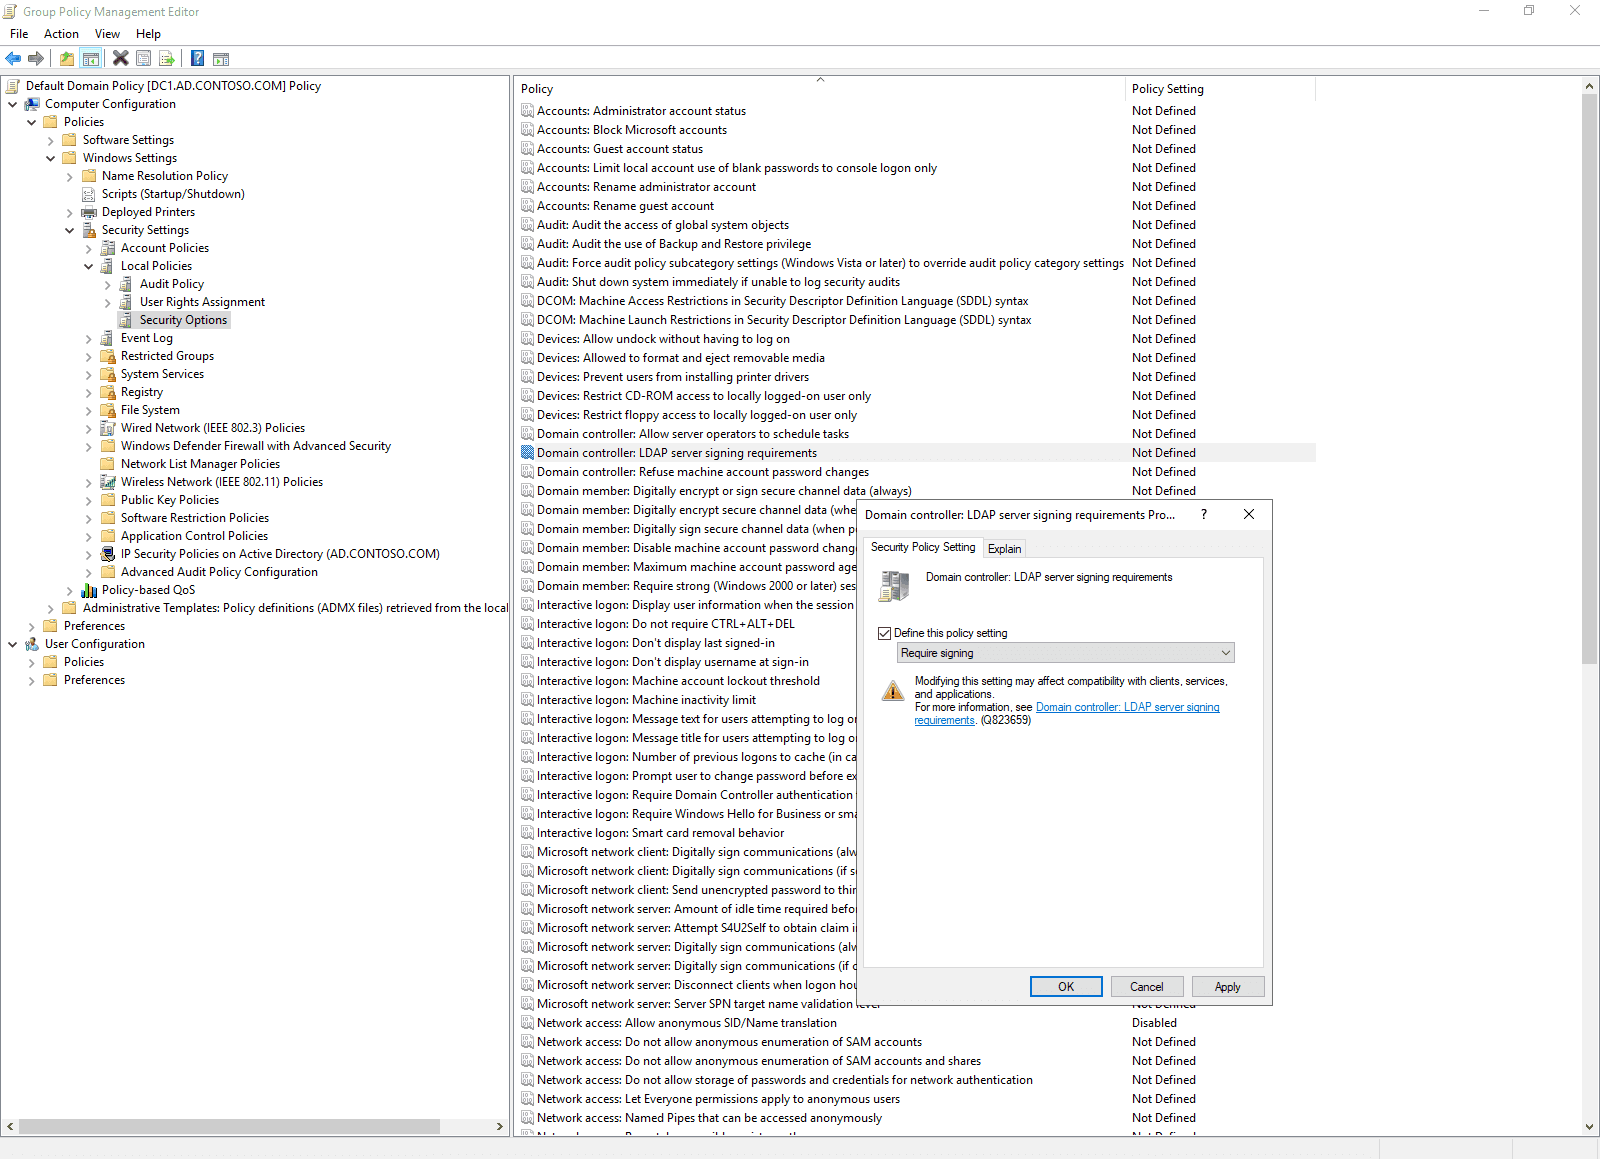
- In the Properties dialog box, set the dropdown menu to Require signing and then click OK.
- In the Confirm Setting Change dialog box, click Yes to confirm that you want to modify LDAP signing configuration.
- If you set LDAP signing in the domain to ‘Require signing’, you should also set the Network security: LDAP client signing requirements policy setting to Require signing so that Windows clients are forced to use LDAP signing.
- If you created your own GPO, now link it to your domain.
- Once you have configured the required settings, close GPMC.
And that’s it! There’s no requirement to reboot domain controllers or clients. Any applications using LDAP simple binds will now be rejected by Active Directory.